Have you been dealing with unusually high heating bills, or does your home struggle to maintain a consistent temperature? This could be due to insufficient or non-existent cavity wall insulation. At BuildTech, we understand homeowners' challenges in their quest for an energy-efficient home, and we're here to help you navigate the intricacies of the cavity wall insulation cost.
What is a Cavity Wall?
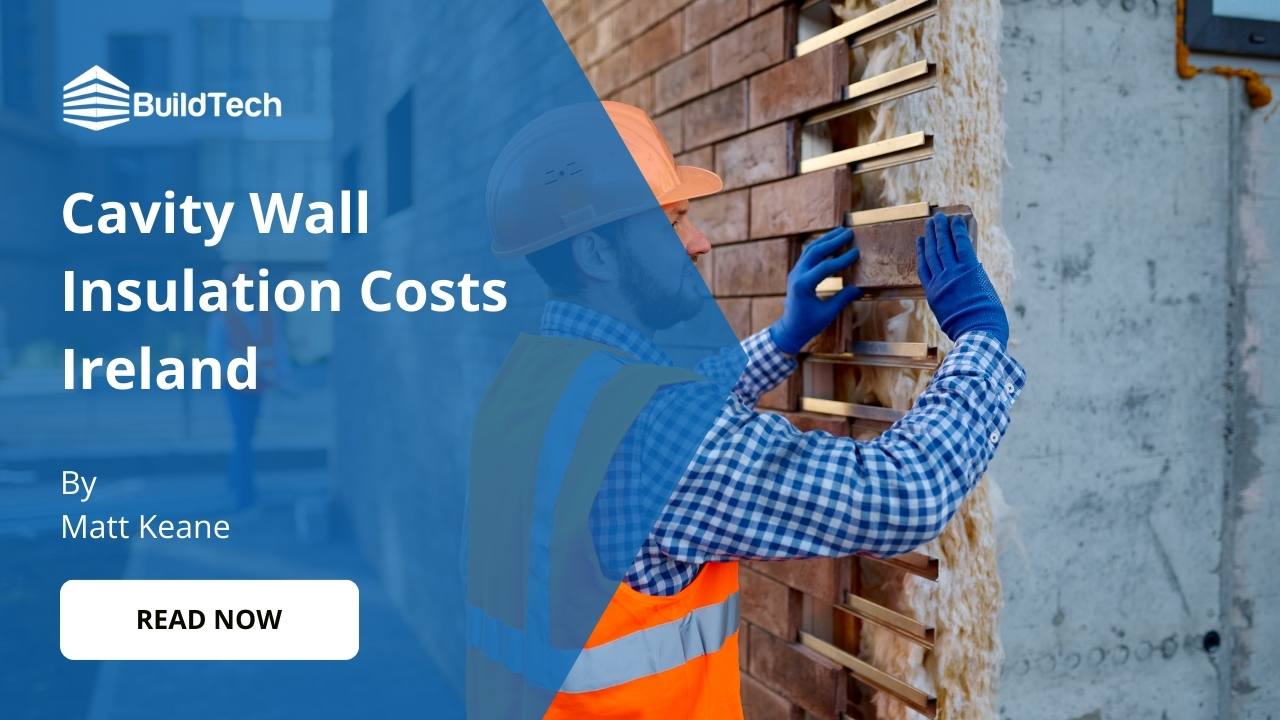
A cavity wall consists of two 'skin' layers of brick or block, separated by a hollow space or 'cavity'. This design helps prevent the movement of heat and moisture across the wall, offering better insulation and protection against the elements compared to single-layer walls.
However, the effectiveness of cavity walls can be significantly improved with the addition of insulation materials. These materials are designed to fill the hollow space between the two layers, reducing the heat transfer rate, and thus making the building more energy-efficient.
Types of Cavity Wall Insulation
When considering cavity wall insulation, it’s essential to understand the different types available. Broadly, they fall into three categories:
Polystyrene Beads
These are tiny beads of polystyrene that are injected into the cavity. They are lightweight, robust, and provide a great balance of cost-effectiveness and performance.
Mineral Wool
Made from molten rock or slag, mineral wool is spun into a mat of fibres that can be inserted into the cavity. It provides excellent heat and sound insulation.
Expanding Foam
Foam insulation is sprayed into the cavity, which expands and hardens, filling the space. It offers very high insulation levels but can be more challenging to install and remove.
Factors Influencing Cavity Wall Insulation Cost
Cavity wall insulation cost can be influenced by numerous factors. These can include the type of insulation material, the size of your house, the wall's condition, and the insulation installation company you choose.
Insulation Material
Different insulation materials come at different prices. Factors such as material quality, performance, and sustainability can impact cost. As mentioned, popular choices include polystyrene beads, mineral wool, and expanding foam.
Size of Your House
Naturally, the larger your house, the more insulation materials and labour will be needed, impacting the overall cost.
Wall Condition
The condition of your walls can also influence the price of insulation. Walls in poor condition may require additional work before insulation can be installed, increasing the total cost.
Insulation Company
Different companies offer varying rates for their services. Therefore, comparing quotes from various insulation providers is important to ensure you get the best value for your money.
How Much Does Cavity Wall Insulation Cost?
Now, the big question is – how much does cavity wall insulation cost? The answer is not straightforward, as it depends on the factors we've discussed above. However, as a rough guide, you can expect to pay between €400 and €800 for a typical three-bedroom semi-detached house in Ireland.
How much does polystyrene bead insulation cost?
Polystyrene bead insulation is relatively affordable, typically between €20 and €30 per square metre. This means for an average-sized house, you could expect to pay around €500 to €700.
How much does mineral wool cost?
Mineral wool is slightly more expensive, with costs usually falling between €25 and €35 per square metre. This could equate to around €600 to €800 for a typical house.
How much does expanding foam cost?
Expanding foam is one of the more costly options for cavity wall insulation, with prices ranging from €30 to €50 per square metre. This means for an average-sized house, costs could be anywhere from €700 to €1,200.
How Much Does It Cost To Remove Cavity Wall Insulation?
Sometimes, cavity wall insulation may need to be removed due to issues like dampness or insulation degradation. The cost of removal can vary greatly depending on the type of insulation, the size of the house, and the job's complexity. Typically, for an average-sized house, the cost of removing cavity wall insulation can range from €1,000 to €3,000.
Why Does Your Home Need Insulating?
Home insulation brings a plethora of benefits. Primarily, it enhances your home's energy efficiency, reducing heating bills and establishing a comfortable, consistent indoor temperature. Moreover, it shrinks your carbon footprint by diminishing the energy needed to heat your home.
Energy Efficiency
Insulated homes significantly reduce the need for artificial heating and cooling, leading to substantial energy savings. Over time, this could translate into a sizeable reduction in your energy bills.
Comfortable Living Environment
An insulated home maintains a consistent temperature, creating a more comfortable living environment. Regardless of the weather outside, you can enjoy a cosy atmosphere indoors.
Should You Claim Compensation for Cavity Wall Insulation?
You might be eligible to claim compensation if you've experienced problems due to improper cavity wall insulation installation, such as dampness or mould. Our professional team at BuildTech can evaluate your situation and guide you on the best course of action.
How to Check Your Home’s Suitability for Cavity Wall Insulation?
Determining the suitability of your home for cavity wall insulation involves a detailed examination of various aspects. Here is a step-by-step guide on how to go about it:
Step 1: Identify the Type of Walls Your Home Has
Firstly, you need to determine whether your home has cavity walls. Homes built after the 1920s usually have cavity walls. These walls are easily identifiable by their uniform pattern of bricks and are typically wider than solid walls.
Step 2: Assess the Cavity Width
The width of the cavity is crucial to determine if it can accommodate insulation. A cavity should ideally be at least 50mm wide to be suitable for insulation.
Step 3: Check for Existing Insulation
Examine whether the cavity has existing insulation that might need to be removed or topped up. You can do this by removing a brick or using a boroscope.
Step 4: Look for Wall Tie Exposure
Wall ties connect the two layers of a cavity wall. Over time, these ties can corrode and lead to wall damage. You should hire a professional to assess the condition of the wall ties before proceeding with insulation.
Step 5: Inspect for Dampness
Before installing insulation, the walls should be dry and free from dampness. If signs of dampness or mould arise, these issues must be addressed first.
Step 6: Assess Exposure to Wind-Driven Rain
Homes with high exposure to wind-driven rain might not be suitable for cavity wall insulation. Excessive moisture can seep into the cavity and lead to dampness issues.
Step 7: Seek Professional Assessment
While you can do a preliminary check, a professional assessment is advisable to determine your home's suitability accurately. At BuildTech, our team can comprehensively assess your home, ensuring a safe and efficient installation of cavity wall insulation.
Choose BuildTech for Your Cavity Wall Insulation Needs
Navigating the nuances of cavity wall insulation cost can be daunting. But with BuildTech's expert guidance, it doesn't have to be. We offer an array of insulation services customised to your specific needs and budget. Our experienced professionals ensure you receive the highest quality service and materials, and our comprehensive aftercare services give you peace of mind.
If you're contemplating new insulation or need assistance with an existing installation, BuildTech is your go-to expert. Contact us today for a no-obligation quote, and take the first step towards a more energy-efficient home.
Frequently Asked Questions
Is Cavity Wall Insulation Worth It?
Yes, cavity wall insulation is worth it. It is a cost-effective measure to significantly improve your home's energy efficiency, reducing energy bills. It can also make your home more comfortable by maintaining a consistent indoor temperature and reducing noise pollution.
How Much Insulation Do I Need in a Cavity Wall?
The amount of insulation needed in a cavity wall will depend on the width of the cavity. Typically, the entire cavity is filled with insulation. It is crucial to have a professional like BuildTech assess your property to determine the right amount of insulation for your specific needs.
How Long Does Cavity Insulation Last?
Cavity wall insulation is a long-term solution. Most types of cavity wall insulation are expected to last the lifetime of the building, which is around 40 to 50 years. However, the exact lifespan can vary based on the type of insulation material used and the quality of the installation.
Is Cavity Insulation Safe?
Yes, when installed correctly, cavity insulation is safe. The materials used are generally non-toxic and non-irritating. However, it is important to use a reputable company like BuildTech to install it correctly and safely.
Which Cavity Insulation is Best?
The best type of cavity insulation depends on your specific needs and circumstances. However, if you're seeking the highest level of insulation, expanding foam is often considered the best choice due to its superior insulating properties.
Is Cavity Insulation Waterproof?
Yes, cavity wall insulation is generally waterproof. It is designed to keep rain and moisture out of your home. However, it can sometimes contribute to damp issues if not installed properly, which is why professional installation is essential.
